
Think of it. Quilting is art.
Why can't a block be displayed on canvas, without having been painted with oils? Here I've taken a block quilted the Hawaiian way; needleturn appliqué and echoing. I've assembled all the materials needed to stretch the block to a 12" x 12" x 1 1/2" canvas frame, found at craft or art supply stores. Also at the ready is a fully-loaded staple gun, found in most garages :).
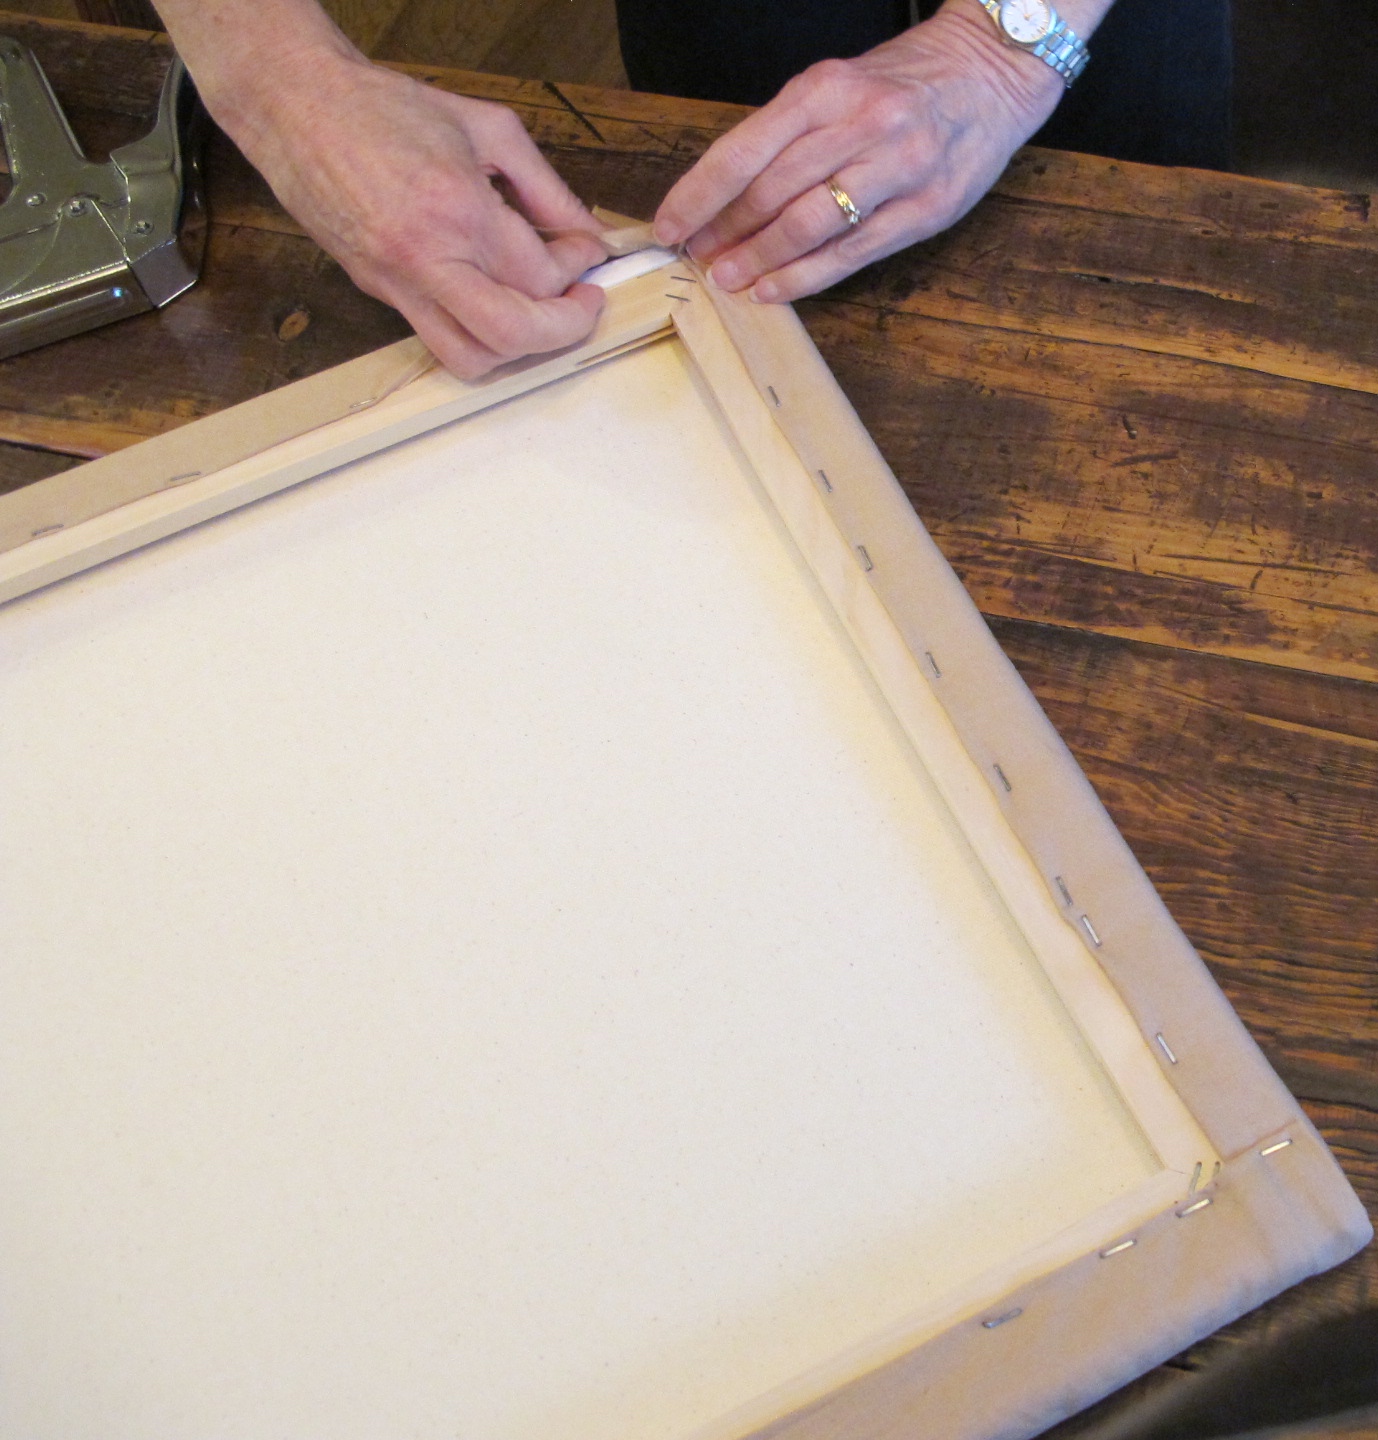
But before we staple it permanently, let's take a peek at the stitching on the back!

The first task is to center the quilt block over the canvas. Some of you may be really good at using the eyeball approach here. I admit I'm compulsive at using a ruler.

Oh, a disclaimer should go here. My husband was nice enough to take these pictures while my hands were quickly assembling this project. If the photographs come out fuzzy, it's a bit my and his fault :).

Moving on, once your block is reasonably centered, start stapling in the center of each edge working out towards the corner and alternating sides, folding the fabric over a bit as you go to prevent fraying. Above, you can see the centers stapled on each side before working to staple a complete side.

A good moderate, consistent tug on the fabric before stapling will suffice and assure the fabric won't be too stressed over the canvas frame. Once the centers on all four sides have been stapled, work on stapling toward the corners, leaving them open.

Folding the fabric is kind of like wrapping a present, with three layers of 'paper'. So, it's helpful to corral the batting by shaping it and stapling it over each corner of canvas first, before folding the fabric (below). Doing this also ensures a soft corner, just like your edges.

After the batting is secured, the tedious part of this project begins. Patience pays off as you keep the first fold taught to the corner while you fold the other side...


When you get the fold in the direction you want (folding two adjoining corners the same direction ensures a smoother application)...

...staple the corner first, then secure the remaining edge until it's all down.

Your goal is to have as smooth a corner as possible. Notice the seam along the edge, shown below. My block wasn't big enough for universal canvas sizes, so I had to sew more fabric along each edge! I thought I was going to make another pillow out of this project, changed my mind to canvas it, and ended up having the cart before the donkey. For YOUR canvas project, make sure your block is cut large enough to allow the extra yardage to be folded over to the back of the frame.

Staple all corners, and flip over for the reveal! Yes, I used the screwdriver to remove staples I lodged in the wrong places! Not through my fingers though, thank goodness...


Every quilt needs a label, and this one is no exception. Using my Pentel Gel Roller Pen for fabric, I create a quilt label. I highly recommend this gel pen. It's totally permanent, fabric-safe, and won't fade through time or washing, though this one won't ever be washed, of course.
For those of you interested in the Hawaiian needleturn-method, I highly recommend Hawaiian Appliqué, mostly for her patterns. The basic process is shown below, left to right, from pinning, basting, needleturning and our finished project from today's post.


Do you have a single block you've been wondering what to do with? Whether it be your grandmother's single block, or an orphan of your own, think of stretching it over canvas!
I hope I've inspired you to think of a different way to display your treasures!

No comments:
Post a Comment