 My mother is a domestic in every sense of the word. She personifies the dainty figures in t-towels who are washing, mending, ironing, etc. on certain days of the week, and when the week is over, the same happy routine starts all over again. Mundane? Not for my mom. And like my mom, I've learned to love taking care of my home, as well.
As a homemaker, she has embroidered t-towels for her family for decades. She has gotten to the age (88 yrs.) that I hoard them if I receive them as a gift from her instead of using them as they were intended. She found out once and said, "Bah! You need to use them". A few years ago I asked her to make me two identical sets and shelved them until I had gathered enough vintage 30's fabrics. The following Mother's Day, I picked her up for a day of antiquing - our favorite pastime - followed by a nice lunch. While waiting for lunch and enjoying the beautiful summer day, I pulled out two nicely-wrapped small boxes from a bag I'd been carrying, one for me and one for her. She snickered at the idea I wrapped a gift for myself. But when she opened hers and I opened mine, she knew why and started to cry. We had matching t-towel quilts. She showed everyone in the restaurant :). That's another reason why I quilt: to permanently save a bit of someone you love right into the very fibers.
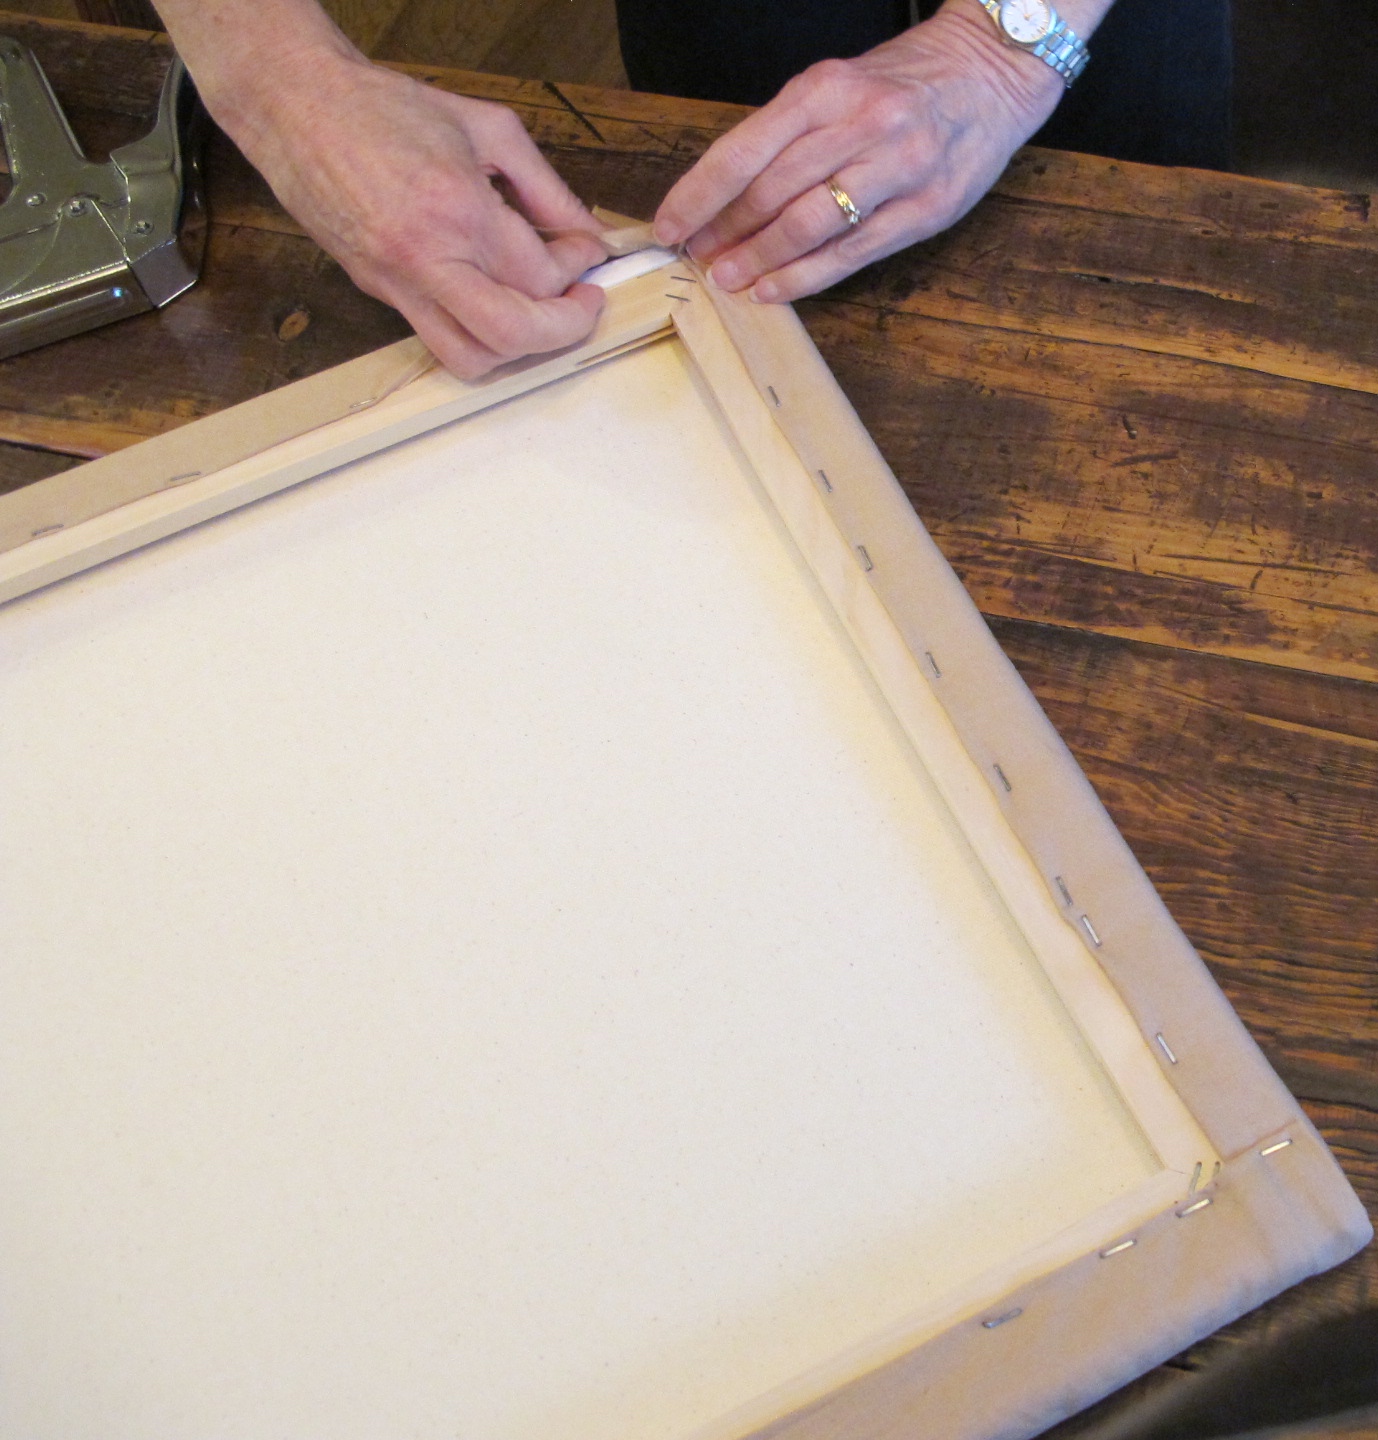
What follows in this post is the process I used to make the t-towel quilts, and not the very ones I quilted for my mom and myself. Here, I used seven t-towels with appliquéd and embroidered figures busily engaged in household chores every day of the week - except Sunday, of course :). Now, my mother never appliquéd t-towels, yet her embroidered ones were just as darling as these.
I've cut each towel into 8 1/2" blocks - the maximum size considering the motifs are placed at the bottom edge of the towel. At the upper left of this photo sits the discarded t-towel fabric...

...wait. Discarded fabric? No such thing. I've decided to use most of it for the borders (see below where I'm cutting the t-towel fabric into border strips). The white fabric in the pinwheel is 'discarded' t-towel fabric, as well. You know the saying: "Use it up, wear it out, make it do or do without". The thrift of the 30s seeps right into what I'm quilting.

I designed the pattern to accommodate an odd number of blocks - seven - and here is the center of this quilt, ready for the borders. (I've pinned it to a 30s quilt hanging on the wall - a bit bright and confusing at first until you find the blue sashing around each block).

I finally finish the quilt top, load it, and start quilting! You can see the borders around my nine blocks, with four pinwheels in each corner. I've completed most of the t-towel blocks with appliqué stitching and scallops, and continuous curve in the pinwheel blocks to emulate 1/4" stitching, like the women did in this era. In the borders I've marked my spines for feathers with a water-soluble pen.

Continuous curve shown close up.

The photo below shows the feathering progression from spine to feather fill.

The blue markings will disappear after I dunk the borders only in cold water. I don't want to get the center of this quilt wet because I'm not sure if the red fabrics and embroidery thread used in the appliquéd areas will bleed.

When carefully placed, the scalloping can almost seem to float behind the blocks like clouds in a straight line. This is intended because it gives a balanced look to the quilt.

The finished product, complete with binding, hanging sleeve and a vintage doily as a quilt label. The blue feather spine markings have disappeared.

I'm entering this little quilt in a local show next month, with the theme "Circle of Life". Certainly, the chores we women do all our lives have one continuous round - day after day and week after week. Mundane? I suppose so. But for me, I know I'll think of my mother fondly each time the dust flies or the cobwebs disappear.
And I won't mind.


